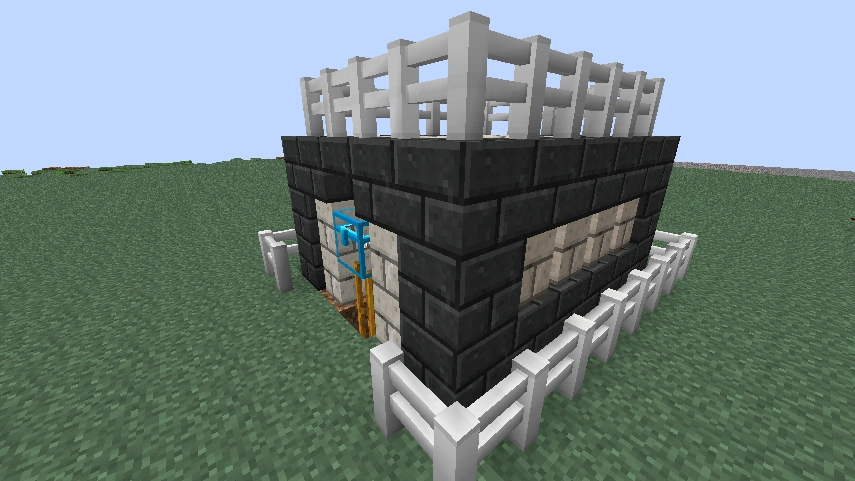
An easy system for milking cows is to put a cow in a small fenced area, and using a deployer with a bucket inside. although you will need several buckets, it is less time consuming than milking by hand.
Items Required[]
- 26 Red Alloy Wires or 26 Insulated Wires
- 4 Deployers
- 1 Timer
- 1 Cow Spawn Egg
- 6 Filters
- 2 Chests (e.g. Crystal Chests or Alchemical Chests
- Up to 36 Buckets
- 4 Buckets of Milk and 1 Bucket for placing in Filters
- 22 Pneumatic Tubes
- 1 Sonic Screwdriver or Screwdriver (for turning machines)
Creation[]
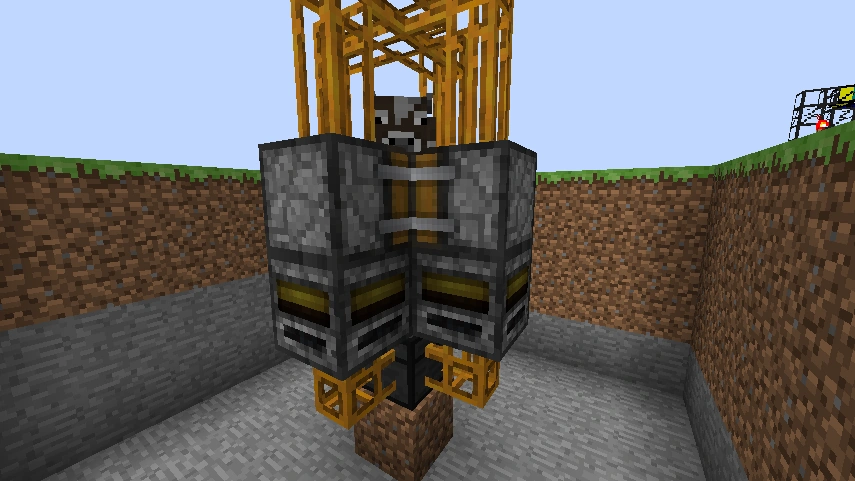
A cow in the 'cow cage'
The first step that is required is to make a pen for your cow, if you are in survival.
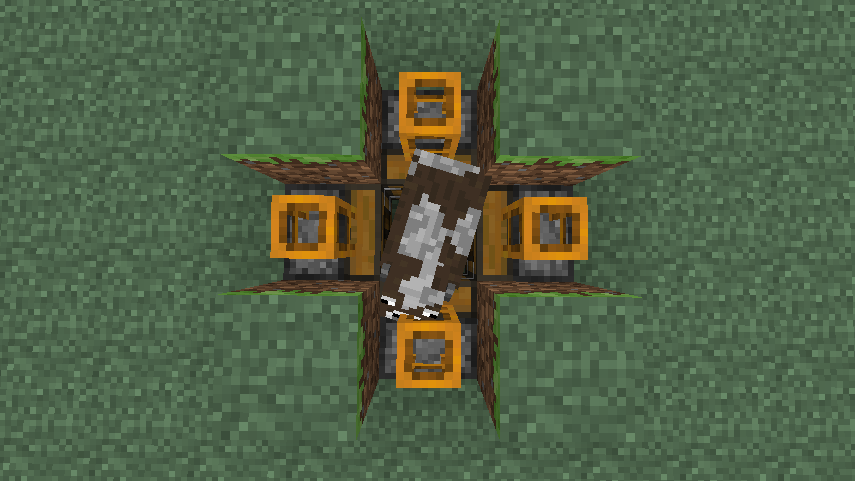
To do this start with a flat area, and dig out a plus type hole. This should consist of one 'air block' and four deployers facing the air block.
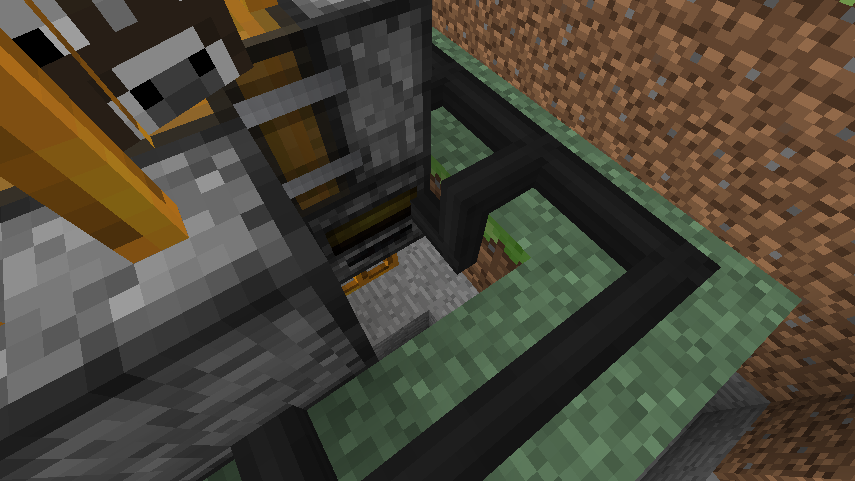
Above the deployers place one Pneumatic Tube and a solid block (e.g. dirt or stone) in the spaces which connect to two Pneumatic Tubes.
Tubes connected and grass removed
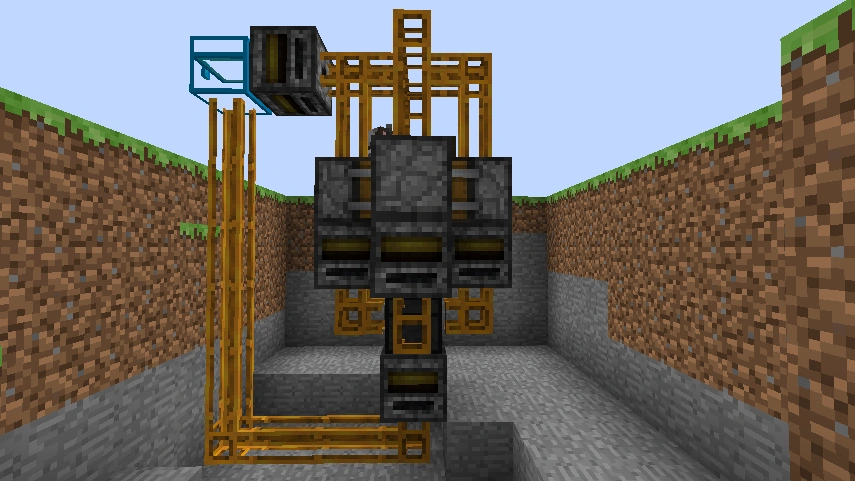
This will give you the 'cow cage' shown above.
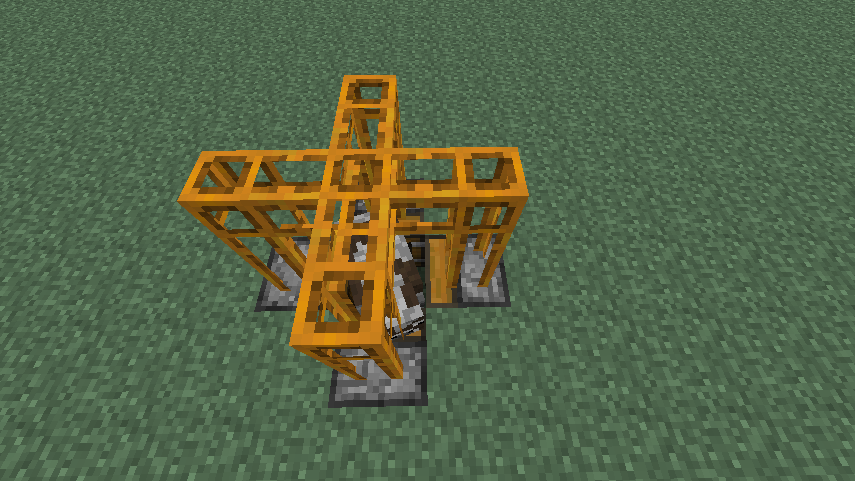
Use Wheat to make a cow follow you into the 'cage'. Once the cow is in place (you may need to push a little, etc.) make the Pneumatic Tubes one higher and then connect them at the center.
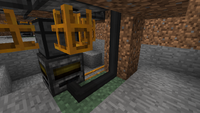
After this, remove the solid block from beside the Pneumatic Tubes (see left).
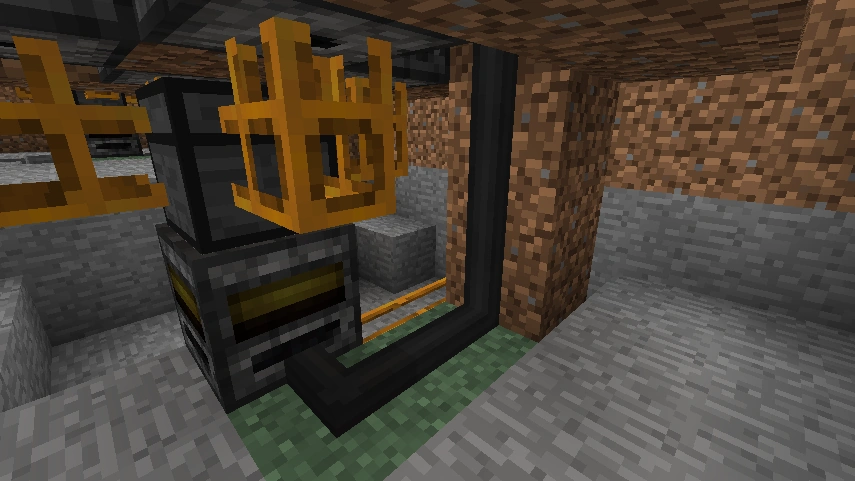
Now underneath each deployer place a filter and use a screwdriver or Sonic Screwdriver to make all face up; or with the 'dot' side facing down.
Place a bucket of milk in the filters to tell them to only take buckets of milk from the deployers.
Below these place one Pneumatic Tube on each and connect a chest (e.g. Crystal or Alchemical Chest) to the center of these Tubes.

Chest and bottom filter in place
This should be directly below the block the cow is standing on.
Underneath the chest place a filter which has the output (small dot) facing down. (Left)
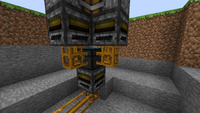
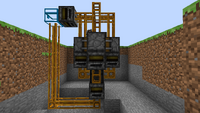
Side view of all Pneumatic Tubes in place
Connect a Pneumatic Tube underneath this.
This tube needs to go 3 toward whichever side you wish to be the front.
Next place 5 Pneumatic Tubes from the end of the current length.
Above this place a chest; the larger storage the better. This will be your output chest, the one that can be accessed full of buckets of milk.
Behind this place a filter (output should connect to the tubing system above the deployers). In this filter place an empty bucket.
This is practically your full system in place. The last stage is to power the


Item transfer system done.
Make a 5x5 square out of dirt or stone around the filters. Note that this must be on the same level as the main 4 filters.
Leave the spaces which are sided by 2 filters; empty.
Next run Insulated Wire or Red Alloy Wire along the newly placed dirt.
Take away one of the pieces of wire connected to any deployer (the 'front')
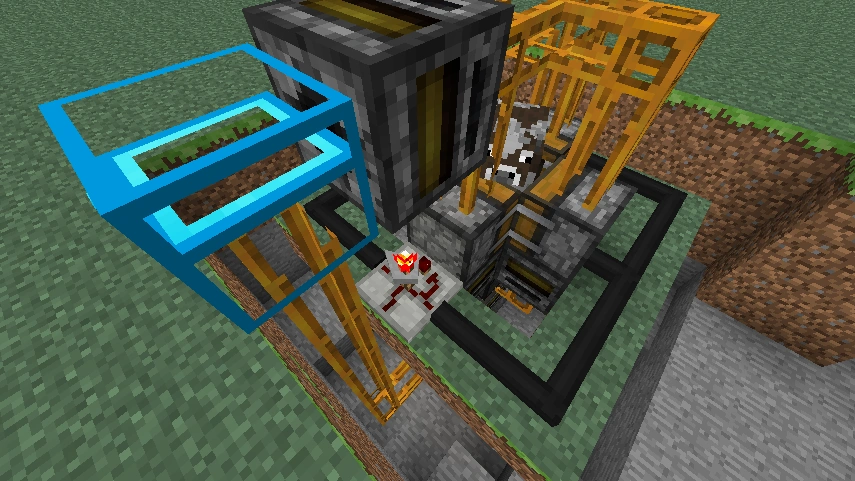
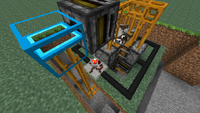
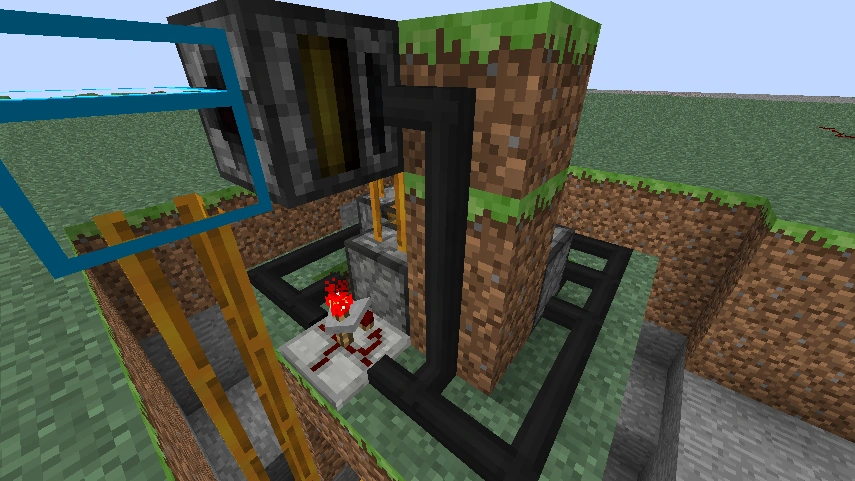
Timer added to the machine
one is best.
Place a timer in the place you have made. Set it to 4 seconds. This will allow you to produce 1 bucket of milk per second. The timing setting is optional, you can set it to any time you wish.
Placing at the front of the machine will allow you to easily to modify the time without mining the blocks around it; thus saving time.

Wiring to the filters.
Next is connecting all the filters to the already set up redstone circuit (Insulated Wire).
In the gaps left which are beside the deployers place 1 Insulated Wire or Red Alloy Wire on the side of the block.
Do this in all the 4 gaps to connect all 4 filters to the circuit.
Next connect the bottom filter to the Insulated Wire circuit.
An insulated wire powering the bottom filter.
To do this make a dirt pillar below one of the gaps and run Insulated Wire down the pillar.
Next connect this to the side of the filter.
Your Insulated Wire line should run parallel with the Pneumatic Tube.
Last filter to connect is the filter connected to your output chest.

Filter on top connected to the Wiring.
On one of the holes which have wiring to power the filters make a 3 high pillar which is adjacent to the filter.
Run Insulated wiring up this pillar.
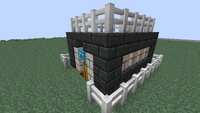
An example way of covering.
All you need to do is fill up the Output chest with as many empty buckets as you want and this will produce until all the buckets possible are milk.
Lastly add a cover to make it look good and of course make it clean and tidy.
Creating an EMC Generator[]
Extra Items Needed[]
Method 1: Equal Amounts[]
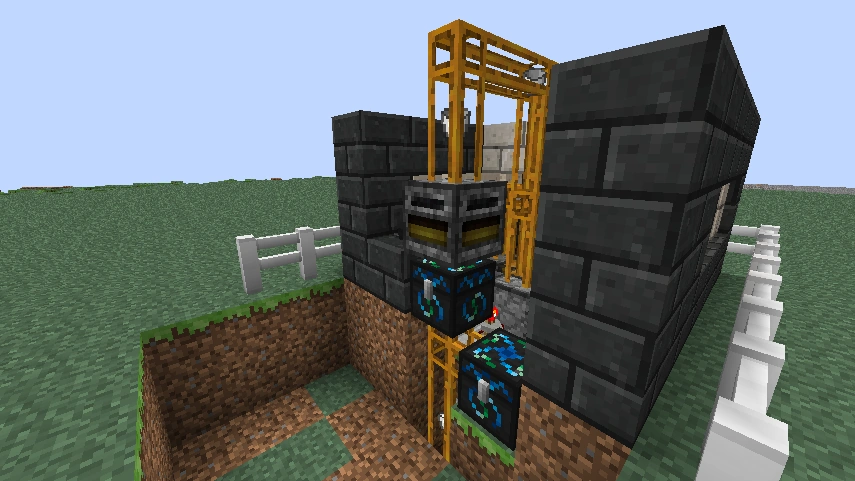

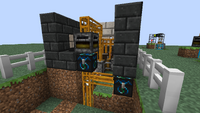
A finished EMC Converter.
Firstly destroy the output chest as well as the filter connected to it.
As well as the pillar which had Insulated Wire to power that filter.
The Pneumatic Tubes should end on the same level as the timer.
Now place the two Energy Condensers making sure they are connect to the same Pneumatic Tube. This will ensure that both will ensure that both Energy Condensers receive the same amounts of buckets.
Method 2: EMC Only from Overflow[]
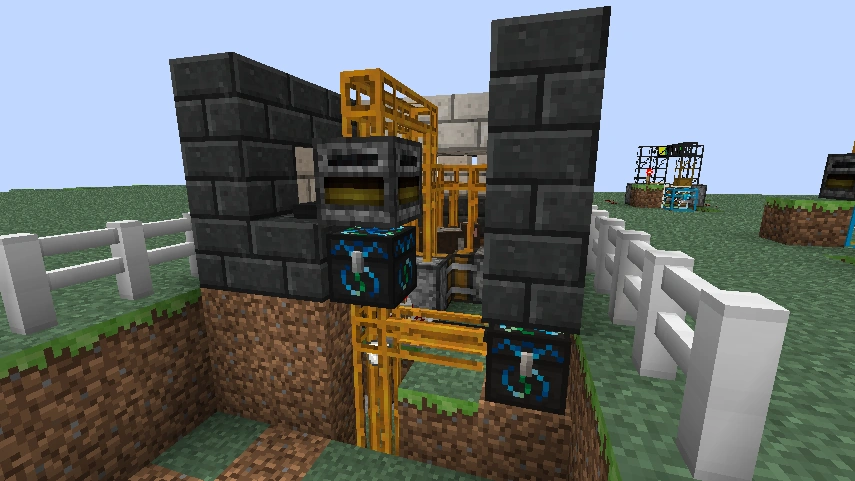
Method 2
If you wish to only use the second Energy Condenser for overflow then put an extra pipe in; connecting to the second Energy Condenser. The furthest away Condenser should have a diamond, or Tungsten or one of the two matters, or a Klien Star Omega or something else of value in it, so it does not overflow.
You could also add two filters onto the condensors to pump directly into a chest, although this will require more wiring and a timer/two timerse and two filters and a reasonably large chest (Do not use the black hole chest, as this will crash your game if not maintained properly).
Video Tutorials[]


How to Build Episode 3 - Tekkit - Automatic and Infinite Milking Contraption

Tekkit Tutorial Milking Machine

TheCakeMaker The Automatic Cow Milker (Episode 2) w Redpower2

EMC Generator - Cow Milking Station (w Redpower2 and EE3)